Saturday, September 10, 2011

Table Top Fun - The making

The Table Top Fun Concept has been developing for months. All I needed was the table to upcycle. Having spoken to a family friend she kindly gave me a neglected table she had out on the roof terrace which was vulnerable to different temperatures. I started by dismantling the table to reconstruct the surface.


I started by Sanding down the table legs.


Then I fixed the external frame which will be holding all the components of the table.


Preparing the interactive part of the table where the inserts will be placed. 


 Glueing the pieces together.


The frame which will hold the glass. The glass will protect the table from getting damaged but also making the table practical and easy to clean.


Assembling the table top.


For the final product, check out the MA Show post. 

The Cube Mug/Vase

continued...

Since the last post the clay had dried and been taken out to leave the shape of the cube mug/vase. 

The next step was to use the
Porcelain slip technique.

Pouring the Porcelain slip into the cast.


Allowing the Porcelain slip to rest for 10-12minutes. Then access is poured back into the container to prevent waste. 


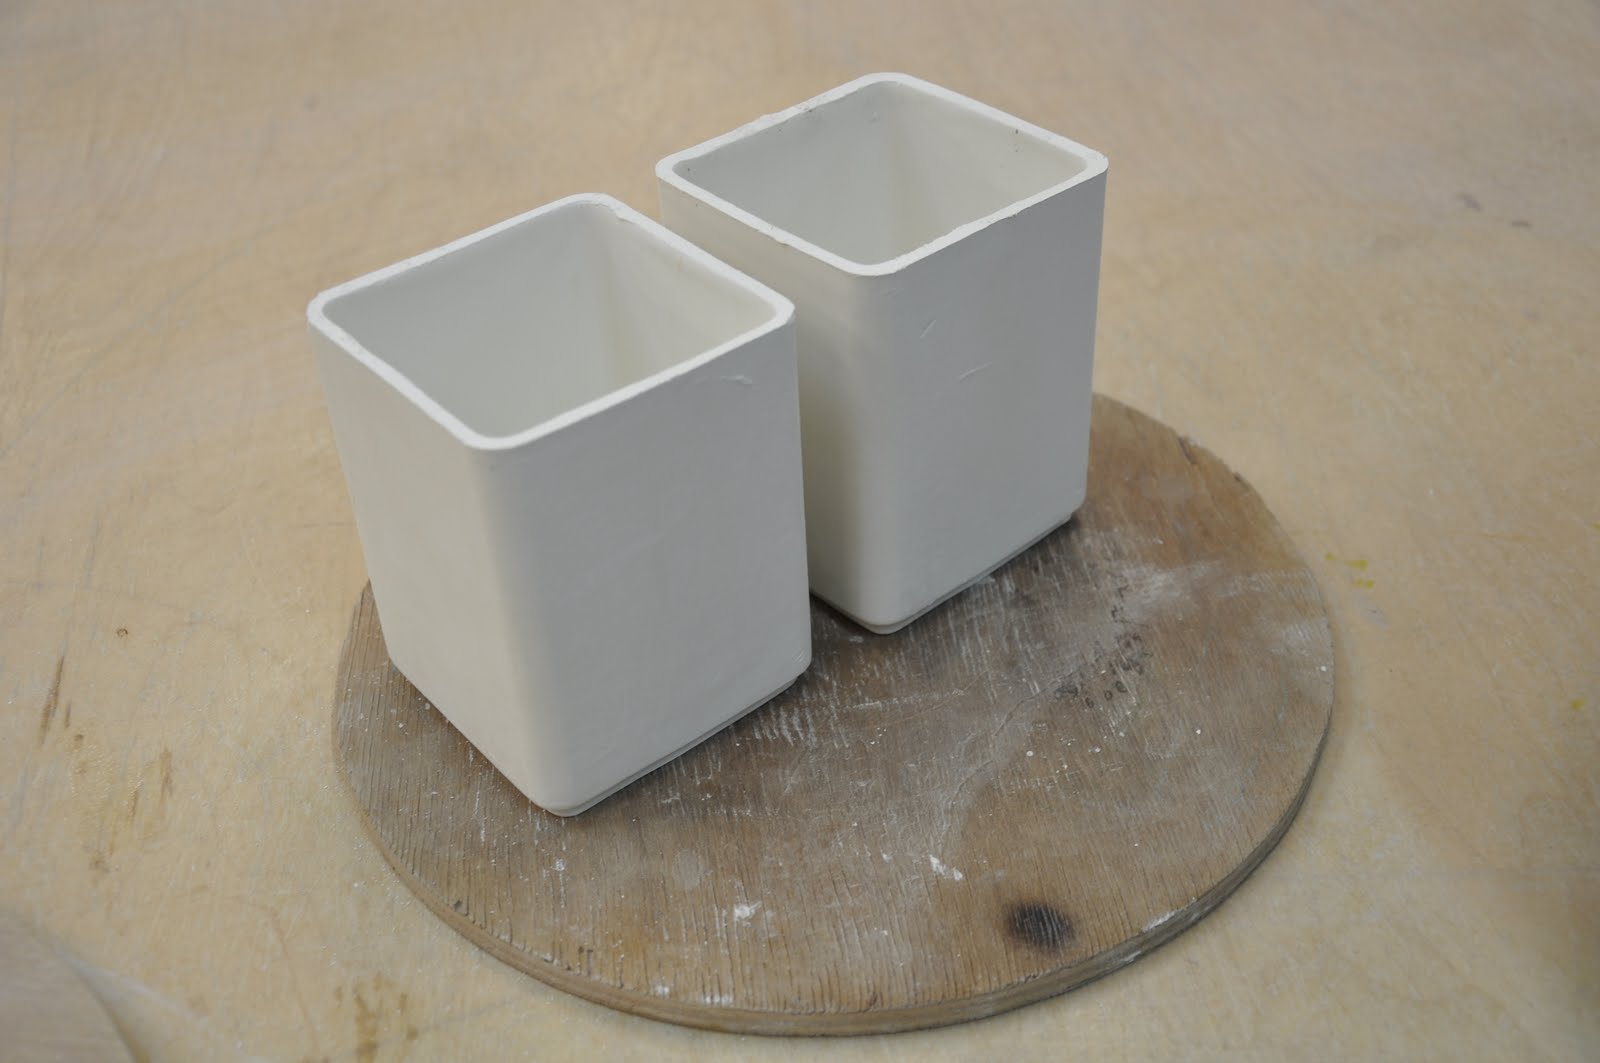
The porcelain is left to dry upside down to dry evenly. 


Once it's dry, the top edge is trimmed off neatly with the aid of a spatula.


 It is then left to dry in a cupboard between two discs to make sure it doesn't deform. 


Smoothing out the surfaces and finishing off with a light damp natural sponge.


First firing.

  
Applying the low firing glaze on the porcelain.


 Second firing with the glaze.


Cut out digital transfers, allowing some border to make it easier to handle.


Cleaning the bottom of the cube with methylated spirit. 


Placing the transfer into water to separate from the sheet to move it onto the bottom of the cube.

One last firing is done with the ceramic digital transfers. 

Results can be found in the Exhibition post... to be created shortly!

Tuesday, July 12, 2011

The Cube Mug

I wanted to create a mug that is easy to:
- store
- hold
- drink  

I got this idea because we always had a problem with mugs and could never manage to stack them up.

Slip Technique for Porcelain

1. Design the Mug
Calculate the 14% shrinkage of the clay by adding 14% to your original design. 

2. Cut the template to create the desired shape.


3. Pass the smooth clay through an extruder.
(Use low temperature white clay for modelling)

4. Fill the holes which are visible and smoothen out the surface with a file. (A slow process which requires patience)

5.Prepare the angle for the bottom of the Mug. 
(out of aluminium - soft metal)

6. Cut out the bottom of the mug. 

7. Wipe the whole shape down with a damp soft sponge.

8. Prepare the mould. Use a board to place the shape. Build a wall around the structure and block the gaps with old damp clay.


9. Prepare the Plaster by mixing 4 pints of cold water with 5 pints of plaster. Leave to set for a few minutes then mix with your hand, making sure you have no air bubbles. When the plaster becomes of a creamy consistency, pour it into the corner of the mould filling up all the space and shaking it a little, to prevent air bubbles.

10. Leave it to dry for 30-45mins and after remove the wall around it. After you take it out, file the sides and angles of the cube to get a smooth surface. 


11. Start removing clay with tools (if impatient like myself) or leave it to dry overnight (making it easier to remove) 

to be continued..